- What is SLS 3D printing?
- How does SLS printing work?
- What is possible to print with SLS?
- Physical Possibilities of Selective Laser Sintering
- Disadvantages of SLS 3d printing
- Hype on Desktop SLS printers
What is SLS 3D printing?
Newsmakers tend to show their audience the most exotic objects 3D printed like food, clothes, houses, and other exciting things, essentially blending all 3D printing methods together and disregarding the simpler goods which would be smarter to produce with a 3D printer. When discussing professional 3D printing, it’s hard to overestimate Selective Laser Sintering (SLS) technology, which has been on the market since around the mid-1980s. It made quite a splash in the media, bringing to life fancy 3D printed dresses for fashion shows, prosthetics, design furniture and even parts for huge companies like Mercedes-Benz. The technology itself can manufacture many other things as well thanks to its working principle. Let’s take a closer look at SLS technology.
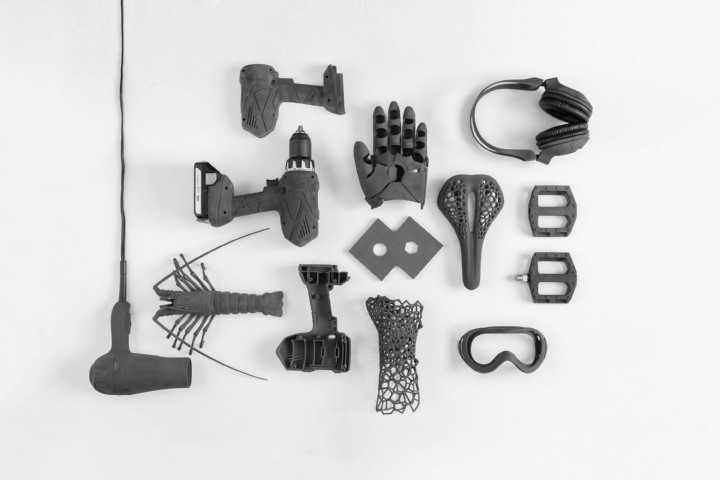
Image: Formlabs
How does SLS printing work?
Today, there is a whole group of 3D printing technologies which use powdered materials to create physical objects by heating the material. The key to understanding the specifications of SLS among other similar methods is behind these three words:
Selective – printer receives a code (instruction) for each layer of the object(s), which tells it where the material should be selectively solidified to get a 3D structure.
Laser – a high-powered laser to heat powder grains and make them solidify together to form an object, layer by layer.
Sintering – the powder isn’t just heated, it’s sintered to the point at which grains solidify. It’s important to note that since the printer doesn’t completely melt the material the parts come out porous.
With no magic involved, SLS printers work through a very simple process. To start printing, the machine requires only two things – a file with a code and material used to produce the parts.
- The machine preheats the whole build chamber with powder to the temperature just a little below the sintering point;
- Roller creates a thin flat layer of powder across the platform (working area);
- Laser sinters zones, where object is supposed to be according to the code;
- Platform descends slightly;
- Printer repeats the key three steps again and again until the last layer required has been completed;
- The powder needs to cool down before it can be removed from the machine.
What is possible to print with SLS?
Depending on a single printer’s specifications, SLS machines can deal with various materials – starting from nylons and up to metals and alloys (if units are equipped with strong lasers). SLS technology produces monochrome objects, but as an advantage, it can work with composite powders. The material range is what has probably helped SLS technology to expand its reach to so many different industries. Here are some of the different materials available for SLS technology:
Nylons – is a broad group of polymers commonly used with SLS printers, with maybe the most famous Nylon 12 PA (Polyamide 12). This material is considered to be the one for “general” purposes of prints. PA 12 gives a good surface finish, it’s thermal resistant and has fine mechanical properties. PA 12 features: white color, durable, strong, can be flexible, absorbs less moisture, machinable, can be dyed and painted.
TPU – is a thermoplastic polyurethane, which is used to produce flexible parts. Prints appear rubber-like, can stand temperatures up to 80C° and withstand abrasion. TPU features: can be food safe under certain conditions, can be dyed, appears off-white.
TPA (PEBA) – another flexible thermoplastic with the appearance of rubber. Compared to
TPU, it is more solid and comes out plain white. It has high elasticity, is chemically resistant, and has long-term stability.
PEEK (Polyether) – the material requires high temperatures to be sintered. Parts made from PEEK pretend to replace metal details due to their stiffness, excellent mechanical properties, and strength-to-weight ratio. PEEK features: is flame retardant, can be sterilized, temperature and chemical resistant.
Casting Plastic – this powder is a polystyrene-based material, suitable to replace wax master patterns for molds used in metal casting. It can work with low melting-temperature metals, burns out shortly, and it is easy to process.
Metal powders – a range of metal and alloy powders, including steel, aluminum and titanium. After being sintered, these powders appear similar to metal and can be used to produce tools, metal parts. Such prints can be machined and polished.
Ceramics and Porcelain – there are a bunch of powders and pastes, which make it possible to print ceramics or porcelain objects with SLS machine. Depending on the exact proportion, prints can be microwave, dishwasher, and oven safe, strong, and biocompatible.
Image: Creative Tools
Physical Possibilities of Selective Laser Sintering
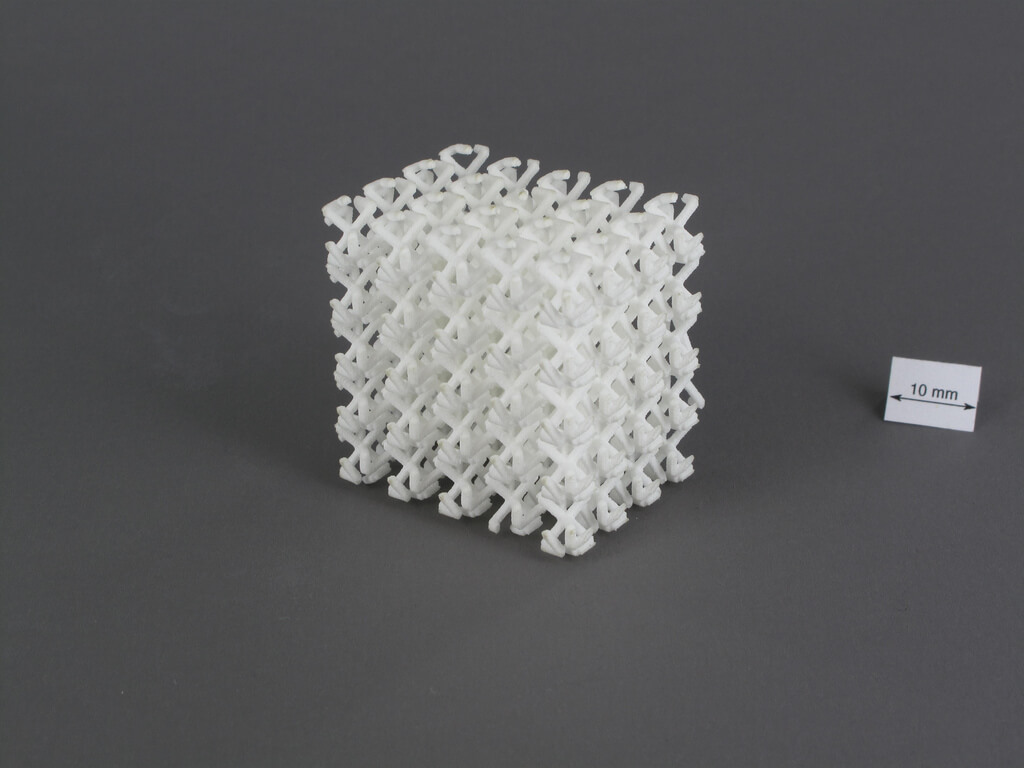
As industrial Selective Laser Sintering (SLS) printers are considerably big in stature and equipped with powerful lasers, these machines are capable of impressive printing volumes and can work with tough materials which require high temperatures. The fact that the technology doesn’t extrude or polymerize materials means that it has a huge design advantage – it doesn’t require supports. The actual powder used for printing becomes its own support structure so hangouts and “flying” parts come out quite well.
The laser beam and powder grains are relatively small as well, which means that some details that are impossible with FDM technology, for example, are produced with precision. Functional parts and prototypes come out accurately, fit one another and can be sent to the market right after being post-processed.
During a print, the entire working area is filled with powder which creates possibilities for nesting many parts in one go. Compared to FDM printers that are limited by their X and Y parameters, SLS machines are much more effective for active production.
Sintered powder in prints appears porous, and as a result, it absorbs moisture like different paints and dyes.
Almost all SLS printing materials can be machined and endure certain amounts of stress. Their structure is free from layers with grains that are sintered at their very core, so compared to common FDM printing, parts appear stronger. Typically, SLS machines require:
- Engraved/embossed details to be at least 0.5mm thick
- Tiny details to be 0.2 mm minimum.
- Hollow objects to have an open side or as they are called “escape holes” – to let the unused powder leave the inner area.
- Printing complex objects with mechanical/moving parts, you should keep in mind 0.5 mm clearance.

Image: Jared Tarbell
Disadvantages of SLS 3d printing
SLS technology and the materials used with it have been going through continuous advancements over time. However, as is the case with other fabrication and prototyping methods, it has several limitations or disadvantages:
Shrinkage of prints
Nylons and other powdered materials shrink after being sintered in all three dimensions. The rate of shrinkage usually depends on a number of factors including the type of powder used, the power of the laser applied to sinter grains, the geometries of a part and cooling processes. It’s also interesting to note that a part doesn’t necessarily shrink symmetrically in all directions. Usually, software used to slice models and prepare them for the SLS process includes shrinking parameters into calculations to deliver a good quality part. However, an engineer who works with a printer should be aware of this disadvantage and predict if it could happen with a particular piece.
Post-printing
Unearthing fresh SLS prints closely resembles the work of an archeologist. After the printing session is complete and the powder has had enough time to cool down, the block of material (which can weigh up to several kilograms) is taken out. A specialist then would need to dig parts out of the block, remove excess powder with a vacuum, brush away leftover grains or even utilize an air blower. Once all that is done, sintered prints should be cured by heat to reinforce their strength. Other finishes are optional and may take some time to sand, dye or coat print.
Color changes/Moisture absorption
Porous structures which can be an advantage if prints would be dyed, painted or coated, can pose a problem if finishes are absent. They tend to absorb quite a lot of dust, oils and moisture from the air which can lead to the changing of color (from white to ivory, for example) or loss of strength. The need to fully load the printing bed. An SLS printer doesn’t care if you need to print a tiny part – it would require loading to cover the entire height of a piece, as well as the need to have the X and Y fully embedded in powder at all times. Even if the material doesn’t come into contact with the laser, the entire contents of the load become damaged after every run. That’s why owners of SLS printers try to load the printing area as much as possible for a single process.
Machine and material costs
SLS printers cost a lot. The “affordable” desktop versions are priced around $7,000 – and that’s just the printer. If someone plans to process a full cycle with cleaning, post-processing, finishing, and curing, they’re going to need a lot more money. Materials also cost a fortune – a kilogram of PA 12 can be purchased for about $100-120 through some affordable manufacturers, but a machine “eats” several kilos in a single run. If you’re planning to go industrial grade, be ready to invest over $800,000 for a high-end system.
Using some fresh powder every time
Most sintering printers do preheat powder before they come into contact with the laser, so the material becomes damaged due to temperature changes. Some materials can be reused (recycled), however, printing with damaged powder won’t end well – manufacturers recommend mixing it in with unused material. Depending on the material and type of machine, up to 85% of powder can be recycled but there may still remain several kilograms of non-sintered material that are damaged and useless.
Hype on Desktop SLS printers
Hobbyists tried to replicate SLS machines at home with their own custom designs and technical solutions. Some of them were able to produce working printers capable of sintering powder. For example, in 2013, a project called OpenSLS project was started where SLS machines could be built for less than $10,000. Another maker managed to create a printer for just under $500 with a working area of 80x80x80 mm and experimented with mixing their own powders. Other enthusiasts tried printing sugar with DIY SLS machines with relative success.
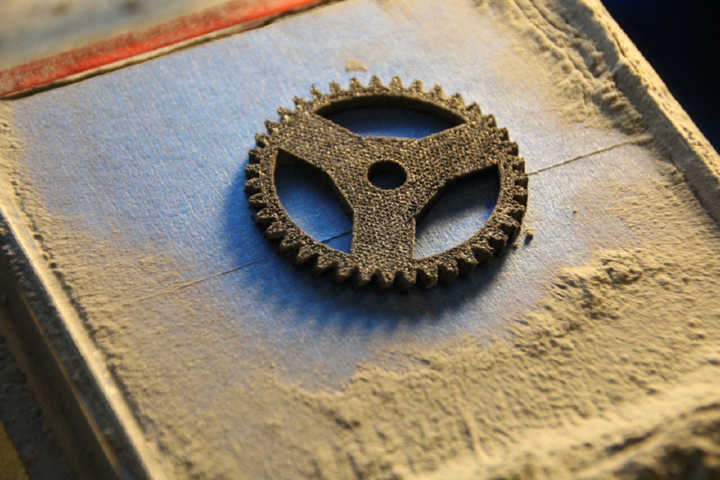
Image: Andreas Bastian
Until 2014, modern SLS printing technology had been locked under a patent, which meant that mostly industrial machines were available after several manufacturers. As a patent expired, companies began to rapidly develop the technology and some of them aim to bring SLS to the masses by producing low-cost ($7,000 or even $10,000 is affordable compared to $100,000, right?) desktop machines. Power capabilities and precision still need to be improved to reach the level of some industrial printers, however, these machines are still capable of producing quality and accurate parts. These campaigns have garnered a lot of attention and in a competitive environment can most definitely push SLS technology to the forefront.
Cover image by ESA


